Now is the time to plant your garlic in Minnesota! It's recommended to plant garlic in the fall a week or two after the first killing frost according to the University of Minnesota Extension. This usually translates to mid October in my neck of the woods. If you're interested in growing your own food I always find it's best to consult experienced gardeners or your state's Extension website for information on each individual crop. For example, here is an incredibly comprehensive guide to Growing Garlic in Minnesota from the U of M.
Dan and I planted ours about a week ago, and planting and growing garlic is really very easy, it's not a very fussy crop. First you pick the plot where you want to plant your garlic. It should be an area that gets plenty of sun and does not get water-logged. Next you will need to loosen up the soil, we did this by using a large tiller. Now if you have any soil amendments to add you will need to work these into the soil, we added some manure, peat, and compost in equal amounts. Finally, you plant your garlic cloves, you do this by spacing them approximately 6 inches apart and planting them tip side up. It's also best to spread some mulch over your plot, it is common to use weed-free straw for this. This straw helps retain moisture, it keeps the garlic bulbs a bit warmer, and suppresses weeds.Buying garlic seed is always a bit expensive, but the great thing about garlic is that you can save some of the bulbs that you grow each year and eventually build up a large stock of garlic seed.... so it's a free cycle. Pretty neat stuff. I have three varieties that I've been planting and saving about 10-20% of the crop from for a few years now. This allows me to have enough garlic to plant for next year with plenty left over for sharing and to get us through the winter.
Dan and I planted ours about a week ago, and planting and growing garlic is really very easy, it's not a very fussy crop. First you pick the plot where you want to plant your garlic. It should be an area that gets plenty of sun and does not get water-logged. Next you will need to loosen up the soil, we did this by using a large tiller. Now if you have any soil amendments to add you will need to work these into the soil, we added some manure, peat, and compost in equal amounts. Finally, you plant your garlic cloves, you do this by spacing them approximately 6 inches apart and planting them tip side up. It's also best to spread some mulch over your plot, it is common to use weed-free straw for this. This straw helps retain moisture, it keeps the garlic bulbs a bit warmer, and suppresses weeds.Buying garlic seed is always a bit expensive, but the great thing about garlic is that you can save some of the bulbs that you grow each year and eventually build up a large stock of garlic seed.... so it's a free cycle. Pretty neat stuff. I have three varieties that I've been planting and saving about 10-20% of the crop from for a few years now. This allows me to have enough garlic to plant for next year with plenty left over for sharing and to get us through the winter.

The night before I chose my largest garlic bulbs and separated them into cloves. Each clove will produce a new whole bulb. You do not need to remove the papery skin that is around each clove.

We then tilled up the area where we want to plant our garlic cloves. It gets enough sun and should have pretty good drainage. After tilling Dan raked the dirt to even it out, he made sure to be careful not to pack down our freshly tilled dirt.
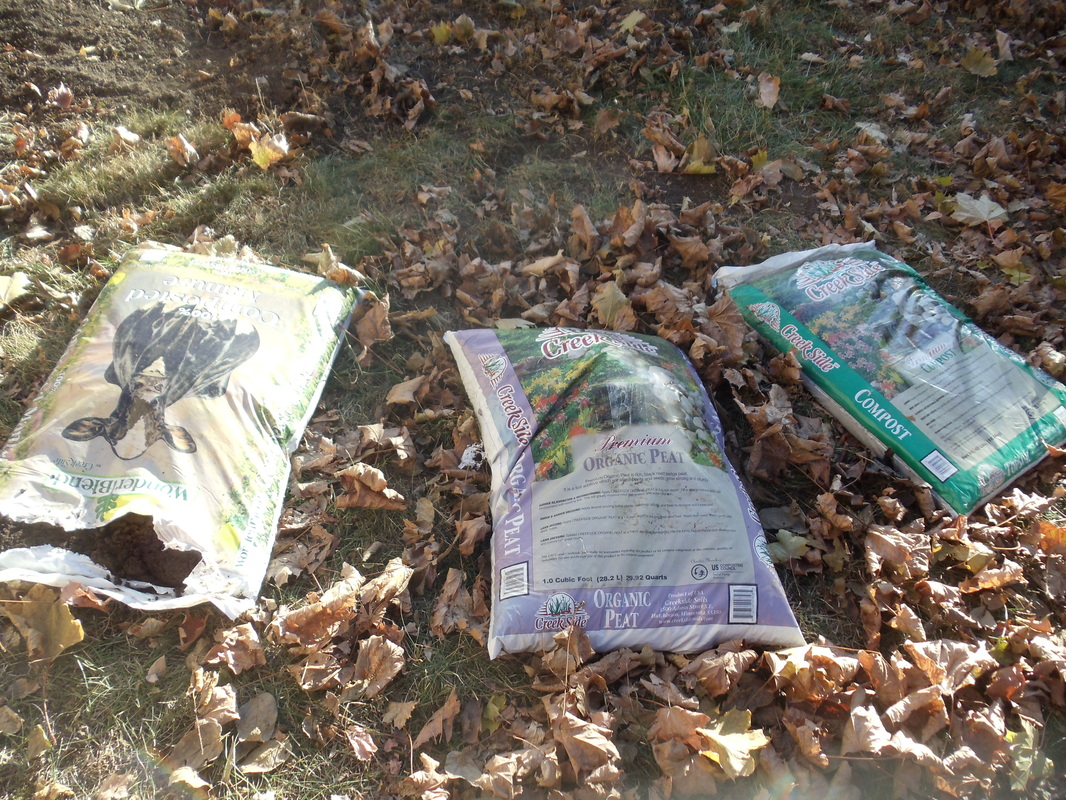
We then added equal parts of manure, peat, and compost to our tilled plot, simply dump the bags out and then rake them around to incorporate them into the soil.
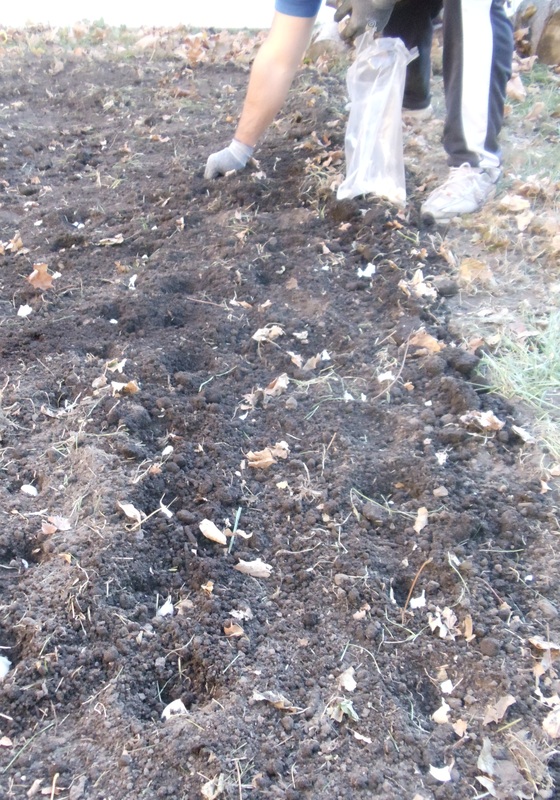
Next comes the planting. We planted in rows with approximately 6 inches between each clove and each row. Plant them point side up in a hole and then bury them.
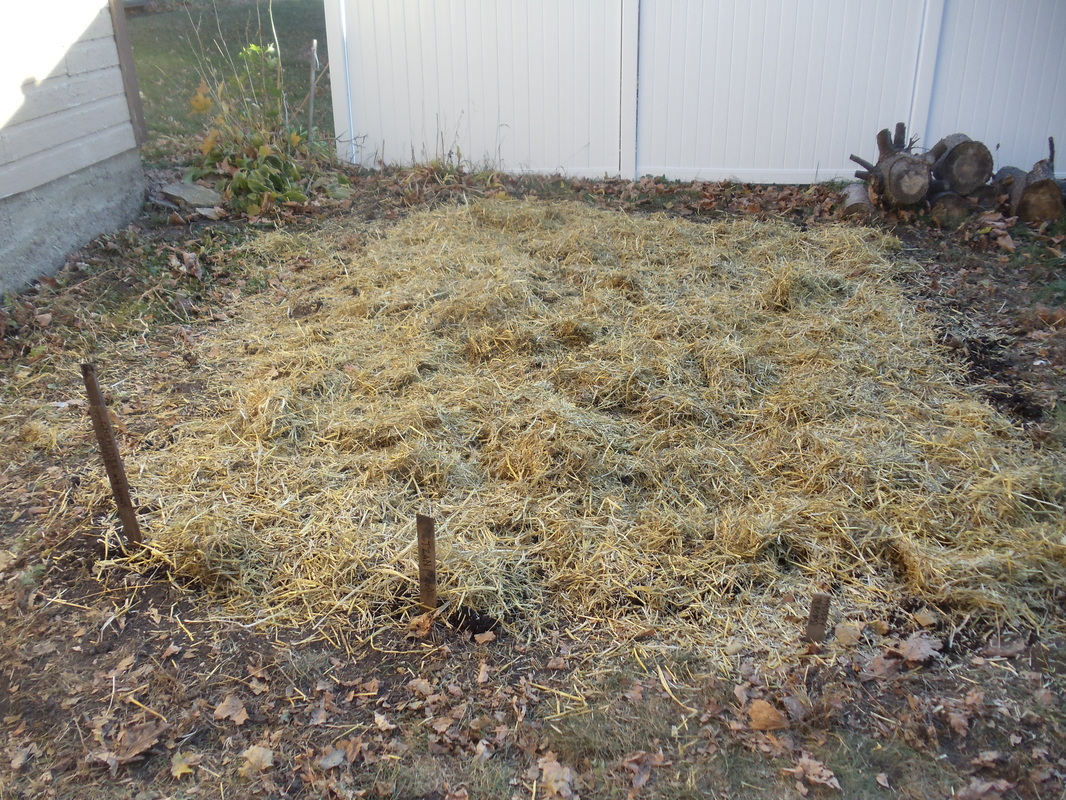
Finally we spread straw all over our plot. This helps to suppress weeds and keeps the garlic nice and warm. It also helps to retain moisture (but not too much).
So there you have it! Now I'm looking forward to sometime in March when the garlic shoots begin to emerge from the soil, it's such a great sight.

 RSS Feed
