Spaghetti Squash is so good, when cooked you can eat it just like you would regular spaghetti pasta. It's delicious and very healthy, here's a comparison of 1 cup cooked spaghetti squash to 1 cup of cooked whole wheat spaghetti:
(information from www.nutritiondata.self.com)
SPAGHETTI SQUASH: WHOLE WHEAT SPAGHETTI:
Calories- 42 Calories- 174
Total Fat- 0 g Total Fat- 1 g
Total Carb- 10 g Total Carb- 37 g
Protein- 1 g Protein- 7 g
Sound good??? Well, here's how to cook it.....
HOW TO COOK SPAGHETTI SQUASH:
Preheat oven to 375 F.
Cut spaghetti squash in half and scoop out seeds, place cut side up on a cookie sheet.
Bake 30 minutes to 1 hour (depends on the size of the squash)
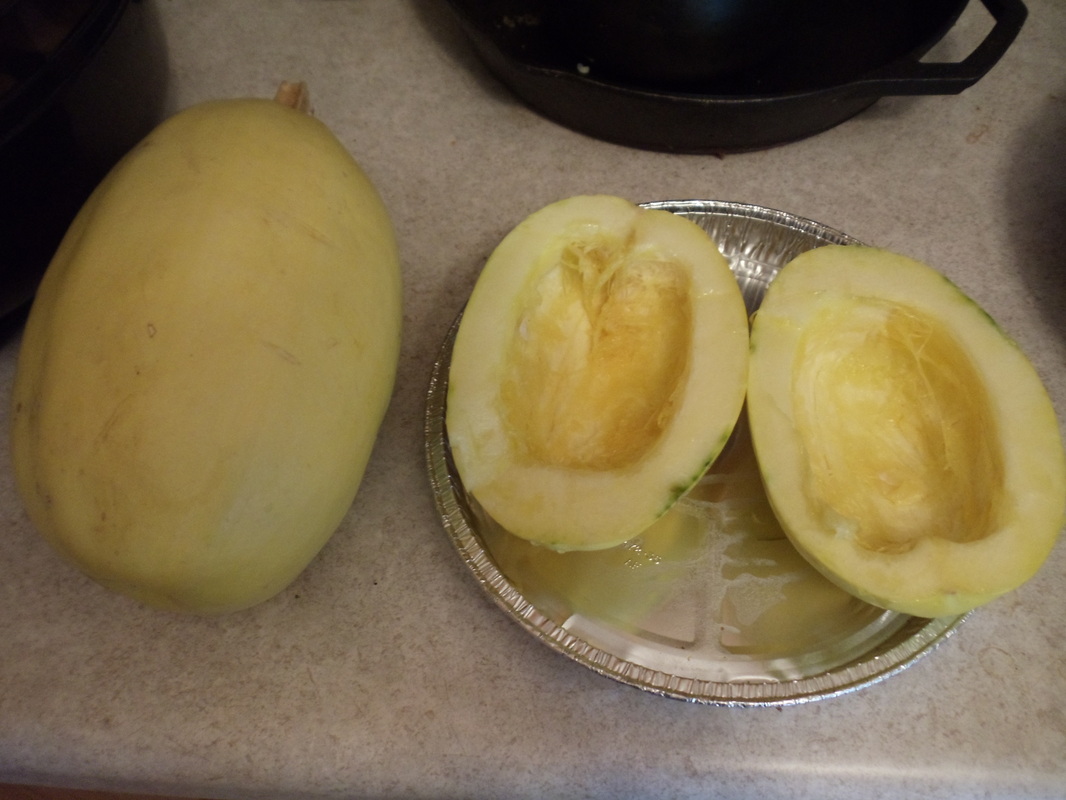
1) Preheat oven to 375 F. 2) Cut squash in half, scoop out seeds, and place cut side up in a pan or on a cookie sheet
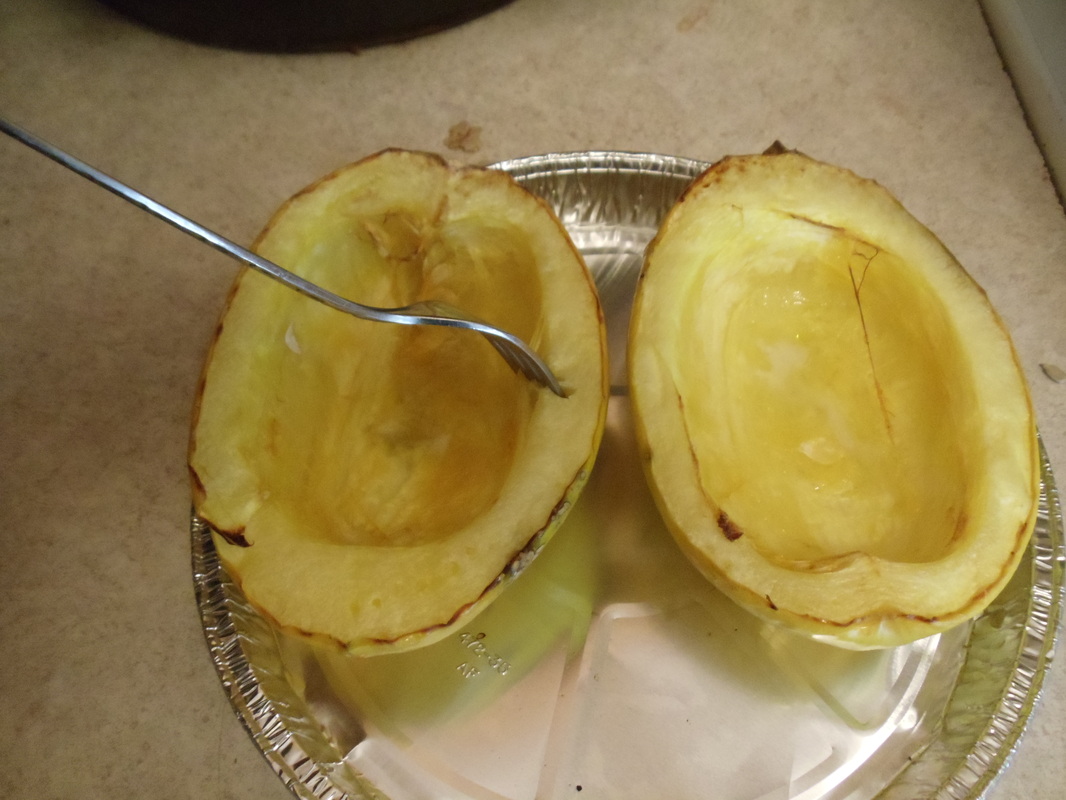
3) Bake for 30 minutes to 1 hour (prick with fork and if it goes in smoothly the squash is done)

4) Start scraping the squash with a fork and it will come out in "spaghetti" strands
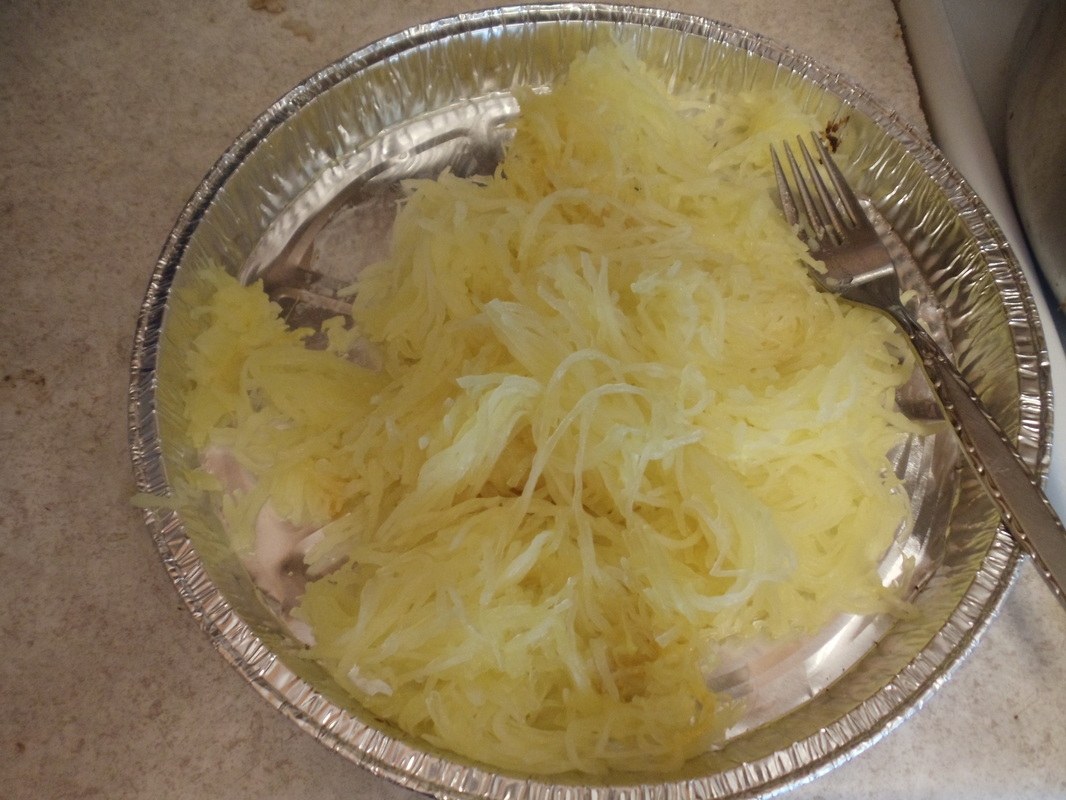
This is all of the "spaghetti" that the one small squash produced
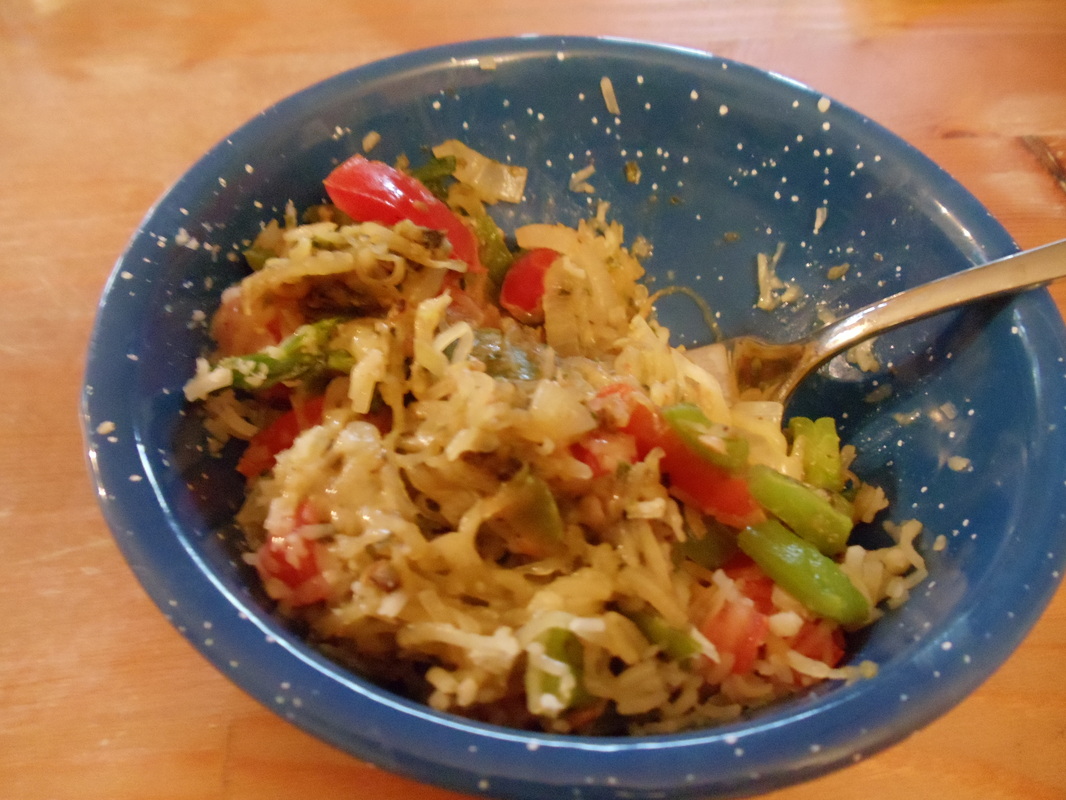
Eat it like you would regular spaghetti, here I mixed it with some vegetables, pesto, and Parmesan cheese


 RSS Feed
